
Installing IceSL and Slicing a model
Author: Salim Perchy (yamil-salim.perchy at inria dot fr)
Welcome to the first tutorial of IceSL. Here you will install IceSL, run it, load a pre-made model and slice it. This tutorial is estimated to be completed in 5 minutes.
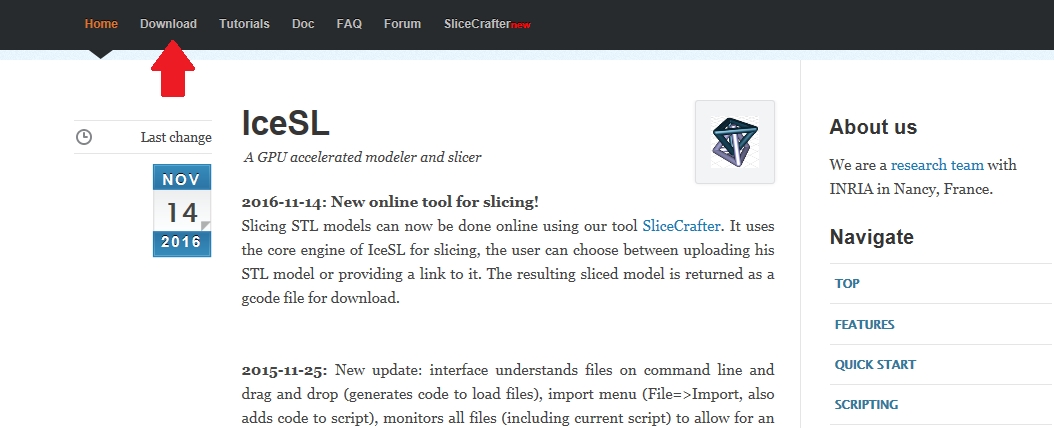
- Go to the official IceSL website and click on the download section. Locate and click on the IceSL windows installer (i.e. icesl-setup.exe) and open it once it’s downloaded:
- Proceed with the installation by accepting the end user agreement and selecting the installation directory. Once it’s finalized, click on close:
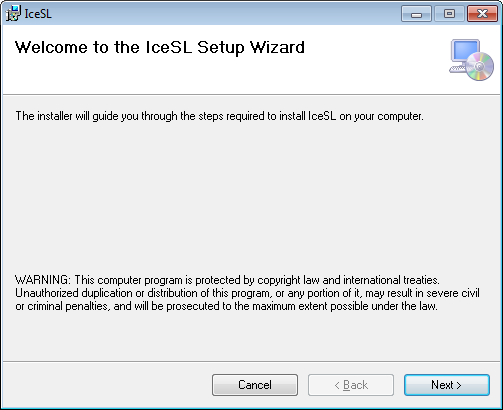 |
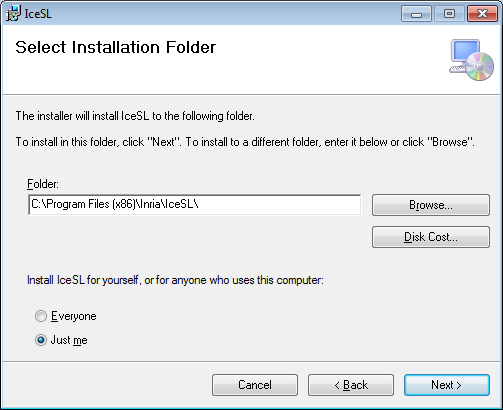 |
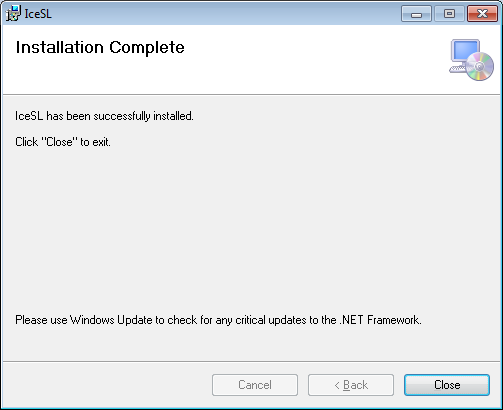 |
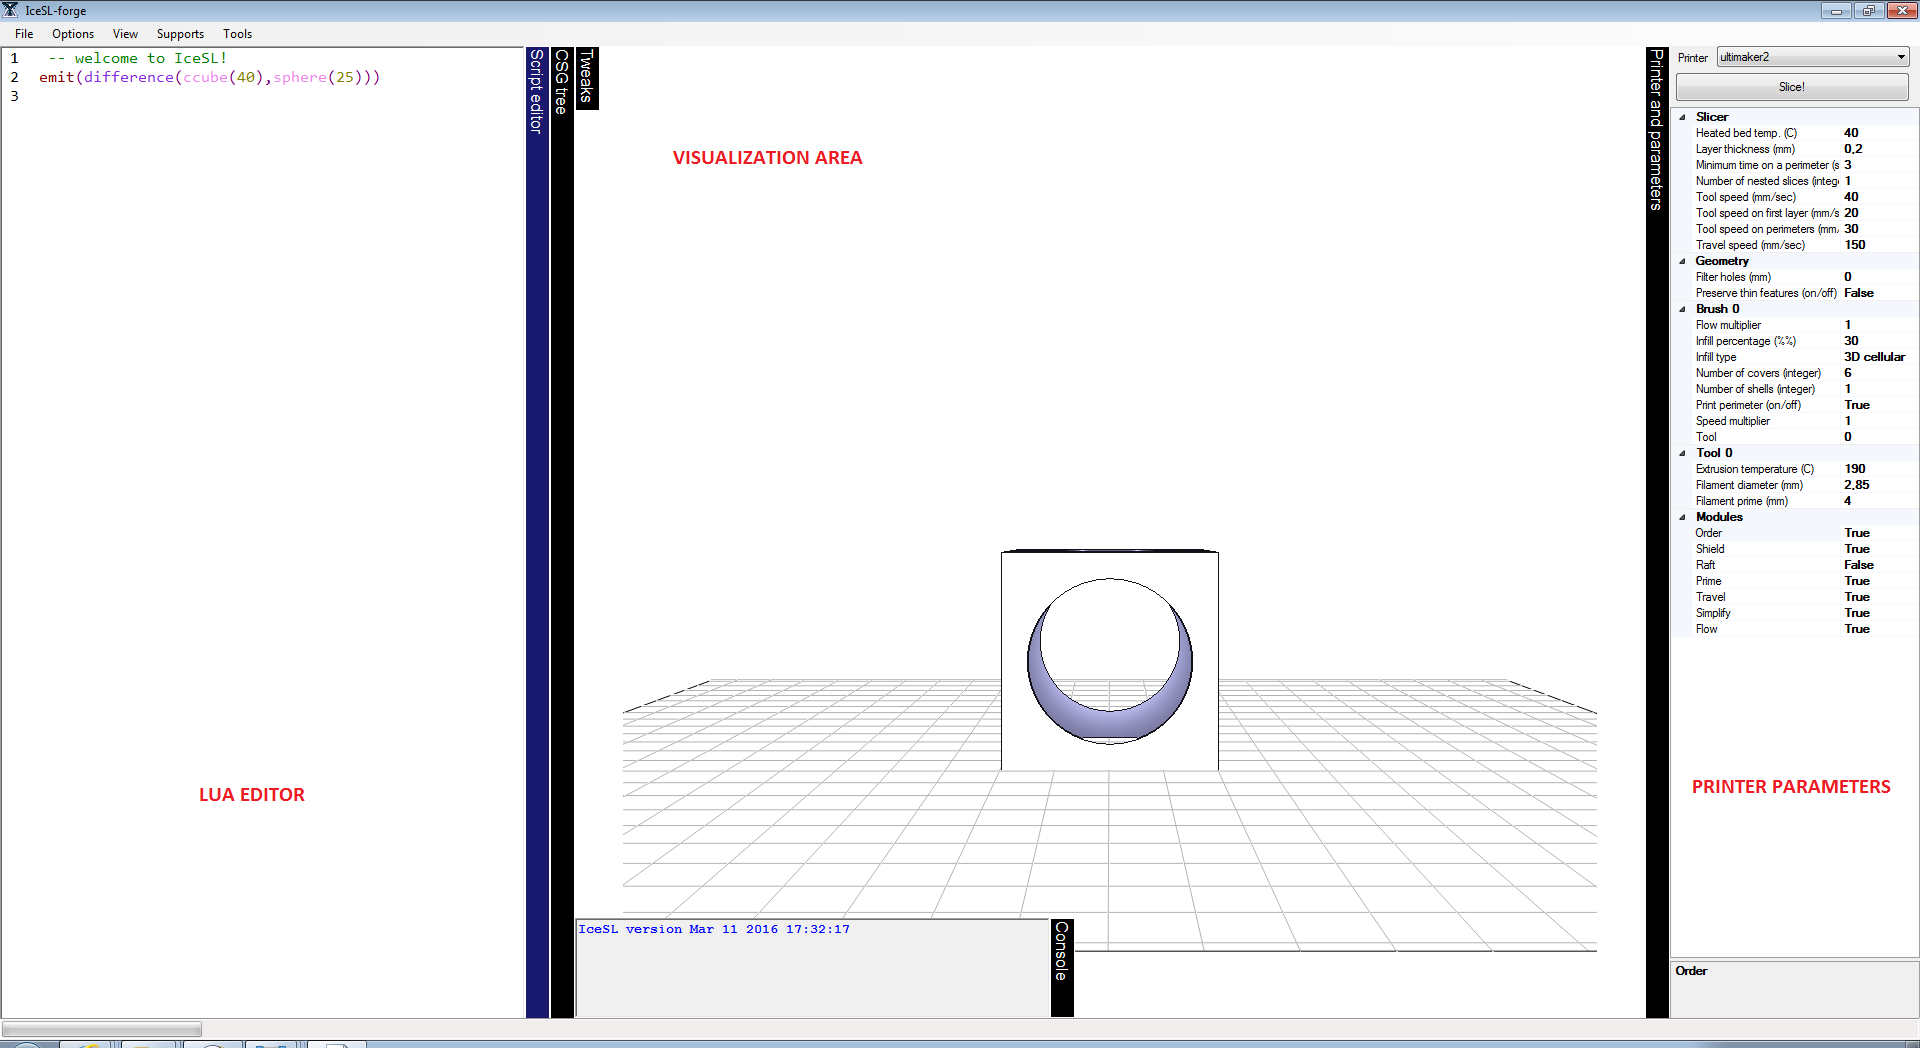
- Open the IceSL application from the start menu. You will see the main IceSL window that is made of three parts:
- The Visualization Area on the middle. Here you can preview and select objects from the scene being modeled.
- The Printer Parameters on the right. Here you can modify important parameters such as the printer, slicing options and so on.
- The Lua Editor on the left. Here you can use a lua-based scripting language to model or alter the shape of the object being modeled.
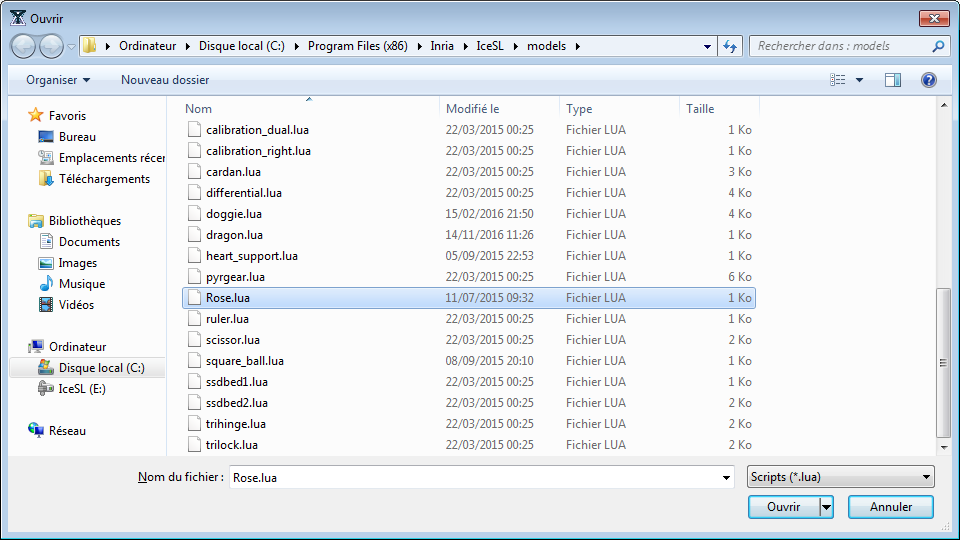
- We shall visualize a pre-made object contained in the installation of IceSL. For this, click on the file menu and select the option open (or simply press ctrl+O), if you are prompted to save changes click on no. Locate and select the file Rose.lua1 inside the %APPDATA%\Roaming\IceSL\icesl-models\ folder:
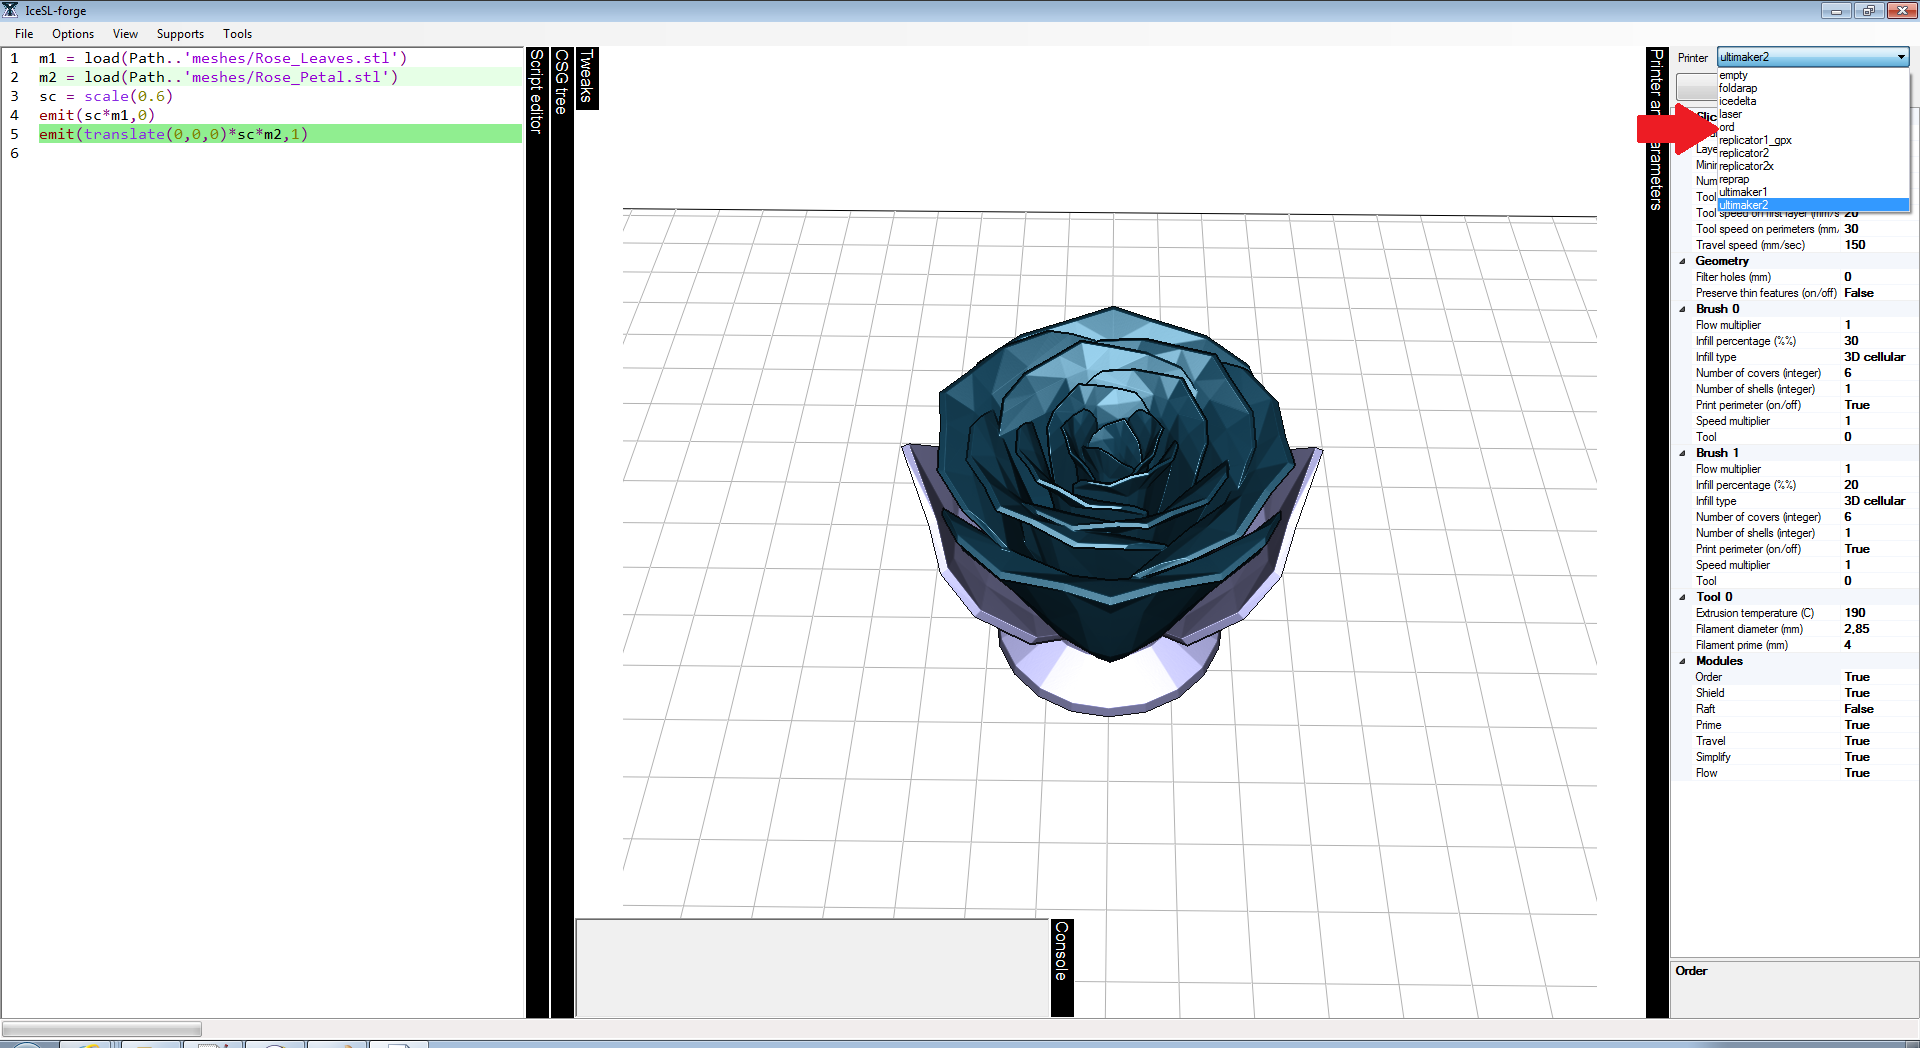
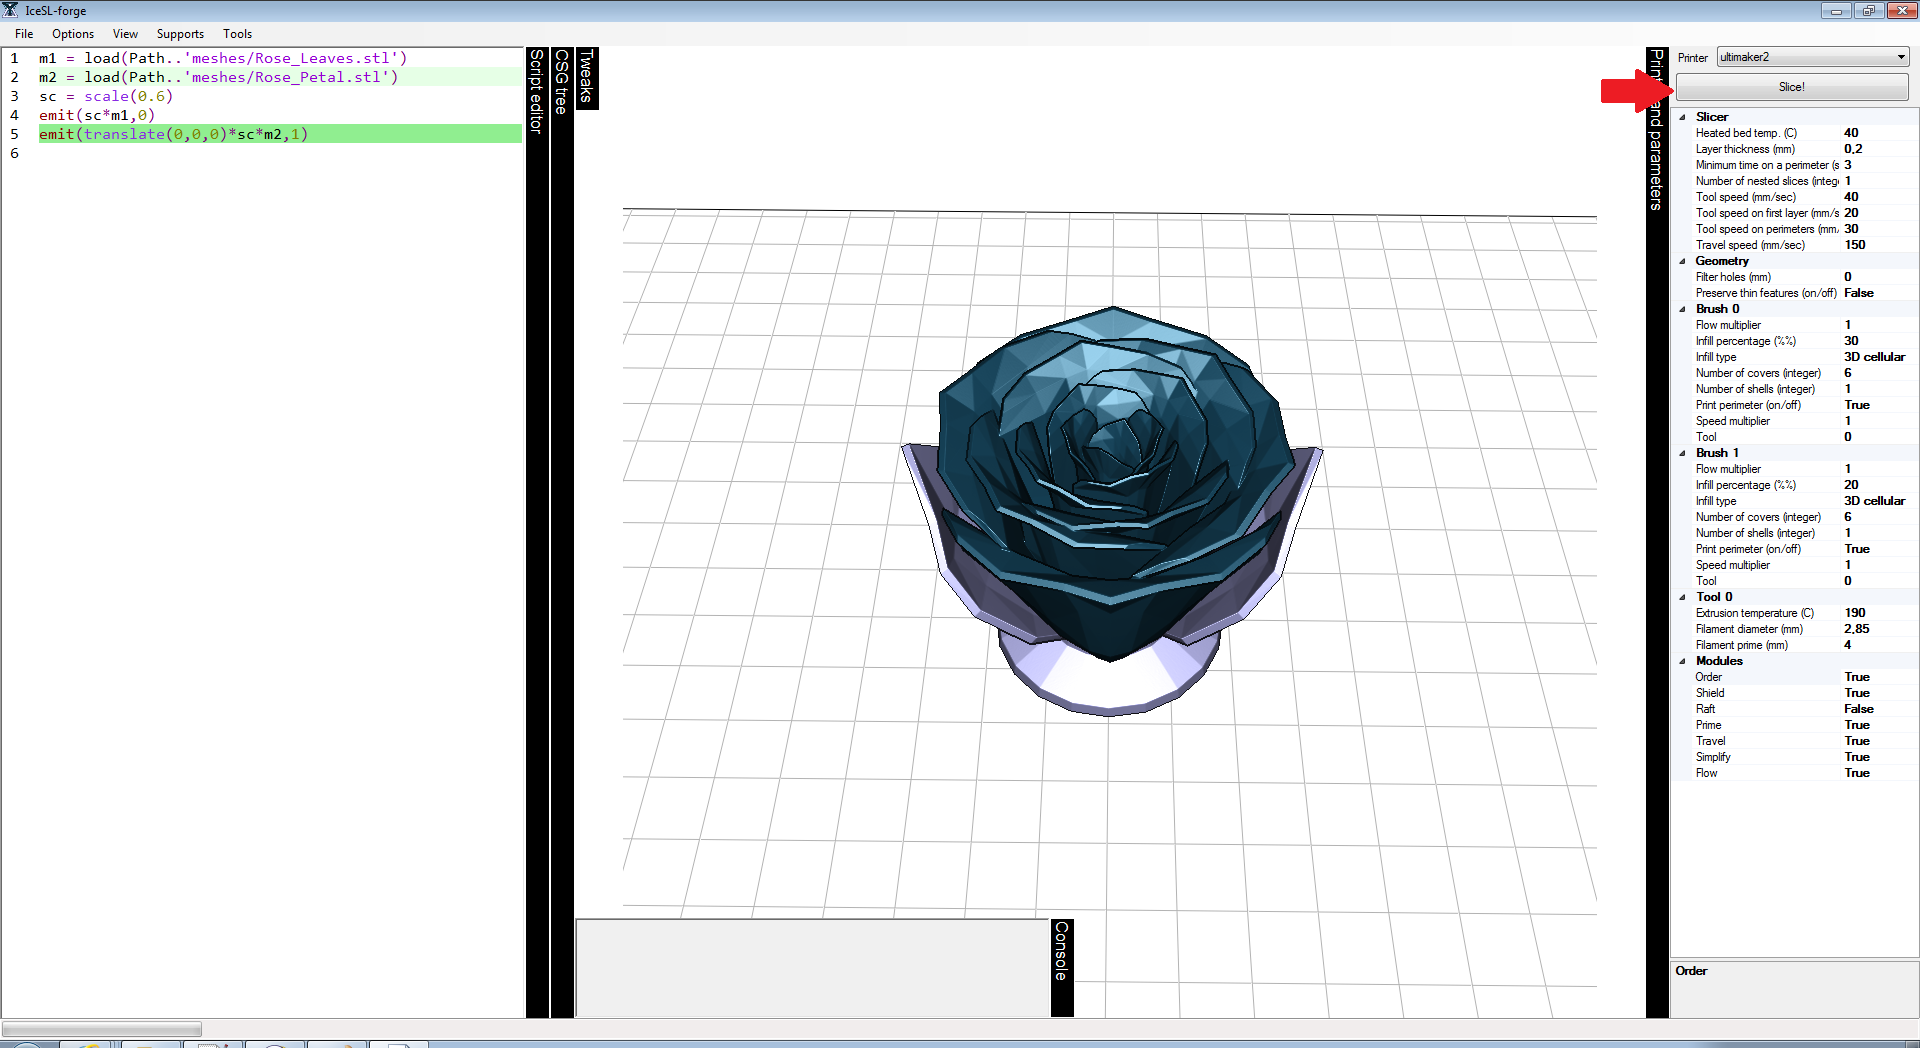
- As soon as the scene is visualized you can interactively preview it by selecting an object (left-click) and holding down the button while moving the mouse pointer. Also, you can zoom in and out of the scene holding down the middle button and moving the pointer. Once you’re ready to print, select your 3D printer from the printer drop-down menu on the Printer Parameters (left part of the main window). Click on the slice button and save the resulting G-code file on your documents folder:
 |
 |
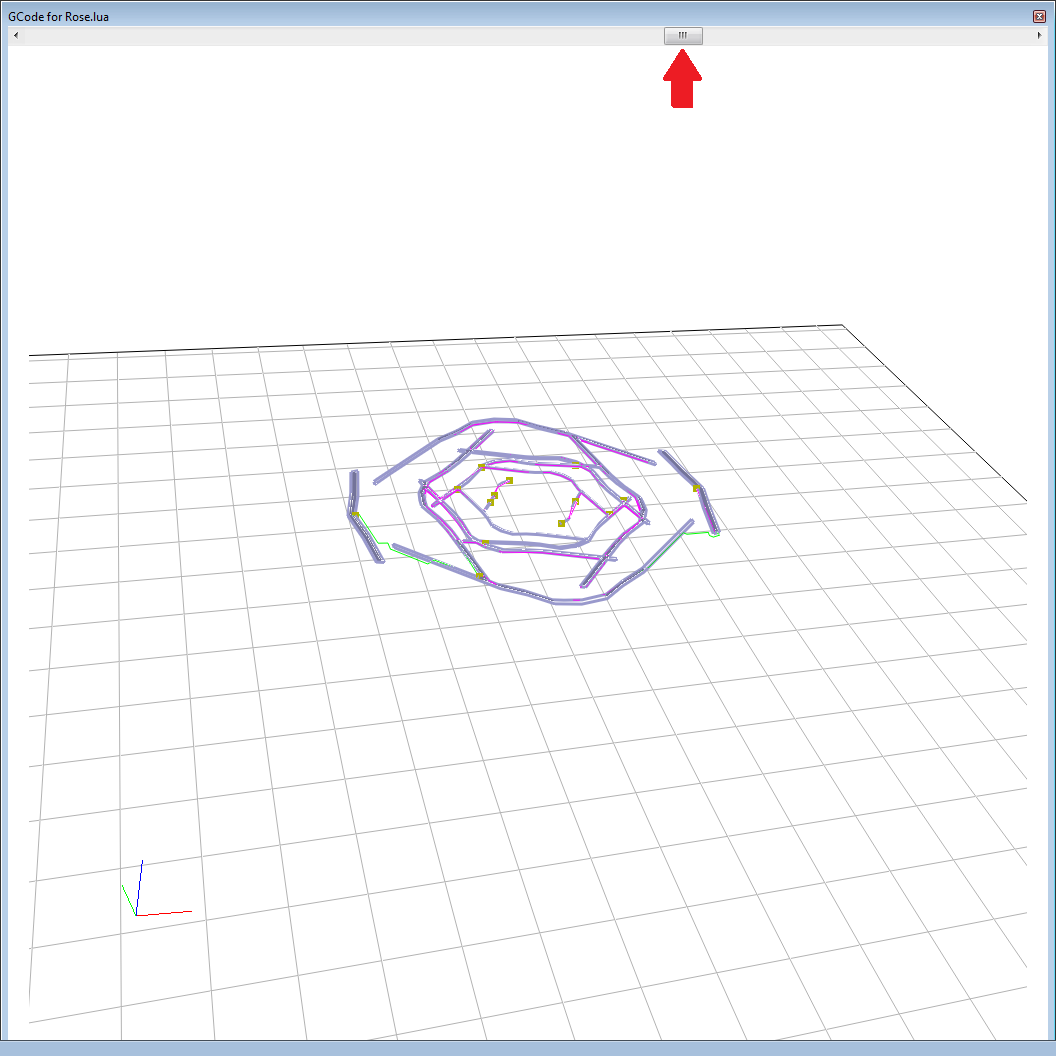
- That’s it, you’re done! You can now use the resulting G-code file on your 3D printing software . As a convenient extra, after slicing the object IceSL pops up a window where you can visualize every layer of the slice result using the upper scroll bar. Additionally, you can see the layers from different angles proceeding similarly as in the last step.
Exercise!
- Try to visualize a smaller version of the rose shape. (TIP: once you load the Rose.lua file, try to spot a scale specification in the Lua Editor)
- Try loading your favorite model. There’s currently two ways of doing this:
- Create a new scene (File → New), and load directly the model (File → Import). Try it with the rose leaves (i.e. Rose_Leaves.stl) from the Lua script used in this tutorial and see the difference!
- Create a new scene (File → New) and write in the Lua Editor the command to load a shape. (TIP: take a close look on how the lua commands emit and load from the font <face=”courier”>Rose.lua file are used)
1. 3D models used in Rose.lua made by user Bob_East from thingiverse licensed under CC BY-SA 3.0